
Agents · April 2026
How to prepare your house for photography — a checklist that actually works.
Richard Gould · 6 min read · Published April 2026
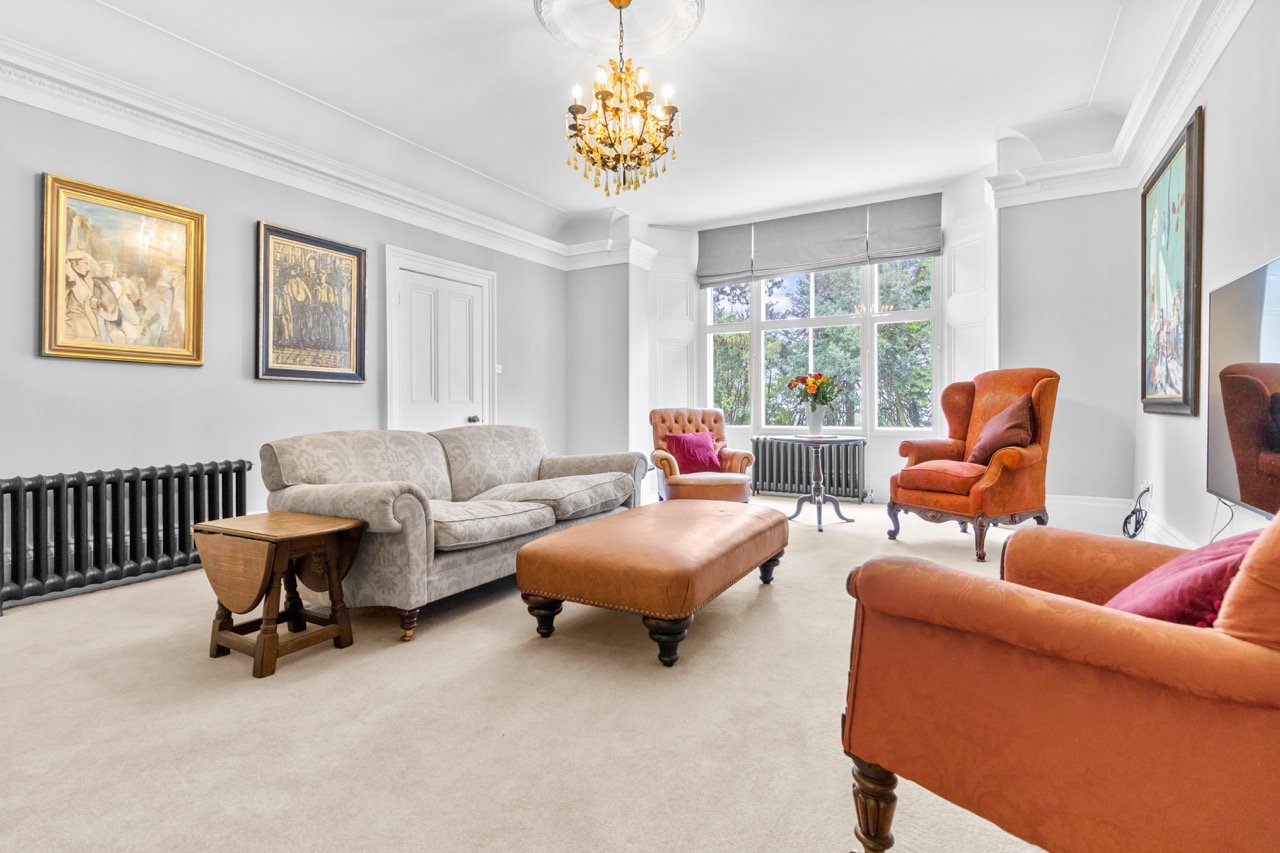
A drawing room shot at Bowdon Old Hall — twenty minutes of prep, three hours of editing avoided.
The photographer arrives in two hours. The house is a working family home, the kids’ school run was a controlled disaster, and you’re staring at the kitchen wondering where to start. This is for you.
Most of what makes a property photograph good happens before I show up. The camera and the editing matter — but so does the cereal box on the worktop, the chair pushed out from the table, the toothbrush on the basin. Twenty minutes of preparation per room is worth three hours of post-production, and it shows on the listing.
What follows is the checklist I send to clients the day before a shoot. It’s deliberately room-by-room. Work through it, and the photographs will lift themselves.
A buyer scrolling Rightmove gives you about three seconds per photo. Make the first impression count.
The whole house, first
Before you go room by room, do a single pass through the entire property with these in mind. They’re the things that show up in every shot, and they’re the easiest to forget.
01
Open every blind and curtain. Even on a grey day. Daylight is the single biggest factor in how a room photographs.
02
Turn on every light. Yes, all of them — including lamps, hood lights, under-cabinet lights. Mixed light sources flatten contrast and look warmer.
03
Bins out of sight. Kitchen, bathroom, bedroom. All bins. The whole point of staging is to imagine the space without the daily mess.
04
Toilet seats down. Every one. I will photograph it, and it will be the thing the buyer notices.
05
Hide the wires. Phone chargers, kettles, hi-fi cables. If you can’t hide them, tuck them behind furniture.
Kitchen
The kitchen is the most-photographed room in the house and the hardest one to stage well. Worktops are the issue. Anything on a worktop competes with the architecture, so default to clearing them entirely.
Keep: the kettle (if it’s nice), a bowl of fruit, a single chopping board. Hide: the toaster, the microwave, the knife block, the post, the keys, the fridge magnets, the drying rack. Wipe down all stainless steel — fingerprints catch the light and they’re a nightmare to retouch.
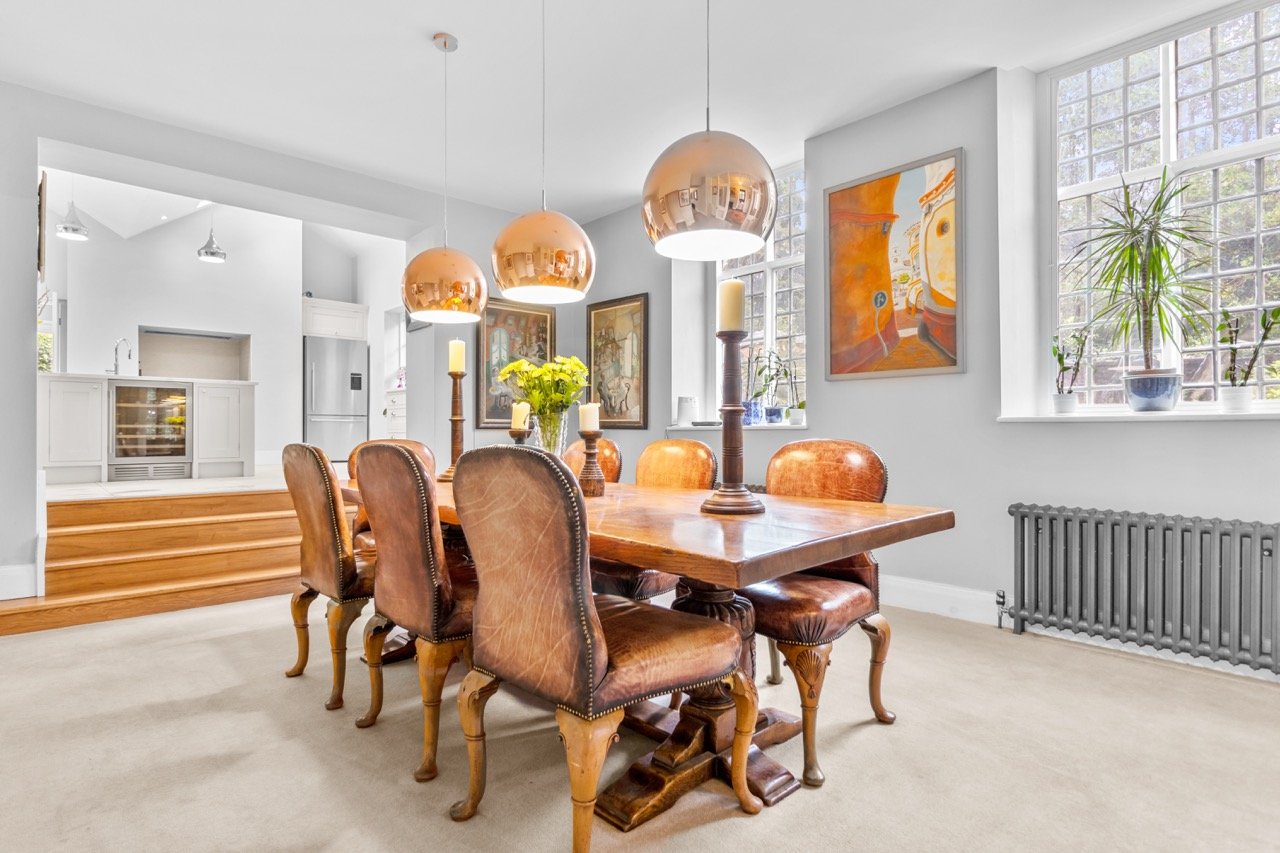
Worktops cleared, chairs pushed in, table dressed simply. The room does the work.
Living room
Plump every cushion, fold every throw, and align any visible furniture so the room reads symmetrically through a wide-angle lens. Remotes off the coffee table — into a drawer. Magazines and books are fine in small numbers; junk mail is not.
If the TV is the focal point, that’s fine — but turn it off. A black screen reads better than a paused show, and a powered-on TV will overexpose the corner of the room.
Bedrooms
Make the bed properly. Hospital corners if you can manage them, smooth covers, plumped pillows lined up. This is the single biggest “before vs after” of any shoot. Bedside tables: a lamp, a book, a glass — that’s it. Phones, chargers, glasses cases, the half-empty water bottle, all gone.
Wardrobe doors closed. Always.
Bed made, surfaces clear, throw folded. Three minutes of work, the difference between a snapshot and a listing.
Bathrooms
Bathrooms photograph harder than anywhere else. Every bottle, every brush, every cloth removes itself or hides under the sink. Towels: matched colour, folded into thirds, hung straight. If you don’t have a matching set, a single rolled towel on a stool reads better than three mismatched ones.
Mirror, shower screen, taps — wipe them. Twice. I will see streaks the human eye doesn’t, and they’re hours of editing to remove.
Outside
Bins around the back. Hose coiled and put away. Garden furniture aligned and cushioned (if you have them). Move cars off the drive — including the neighbours’ if they’ll oblige. A clean driveway makes the elevation read properly. Lawnmower, kids’ toys, scooters, all out of sight.
For drone work specifically: any trampolines should come down the day before if at all possible. They dominate aerial shots in a way nothing else does.
The day-of pre-flight
Final pass, fifteen minutes before I arrive:
01
Flowers. A small vase in the kitchen, one in the master bedroom, one in the entrance. Three vases is the limit; more starts to look staged.
02
Pets out. Either to a neighbour, in the garden, or in a closed utility room. Bowls and beds away with them.
03
Heating on. Cold rooms photograph cold. Warm rooms read inviting.
04
Music off. I work better in silence, and you’ll want to discuss shots between rooms.
05
Phone signal location. Tell me where in the house I can take a call without disturbing anything I’ve set up.
What you don’t need to worry about
Furniture you can’t move, paint you don’t have time to retouch, the tile you’ve been meaning to regrout — leave them. Everything I shoot gets edited to balance light and remove minor distractions. I’m not retouching reality, but I’m not going to photograph a chip in the skirting board either.
Trust your instinct on what looks tidy. If you walk into a room and it feels lived-in but calm, the photographs will say the same thing.
Keep reading
Agents
How better photography reduces time on market
5 min read
Short-let
Does Airbnb photography actually increase bookings? (Yes)
7 min read
Industry
What is Gaussian Splatting and why does it matter for property?
8 min read